Home > PPT2DVD Pro >PPT2DVD Pro Tutorial > Advanced Settings > Layout Settings
You are allowed to change the video margin (for playing on TV only), add logo(s) to your presentations, and change the navigation buttons’ positions in Layout Settings.
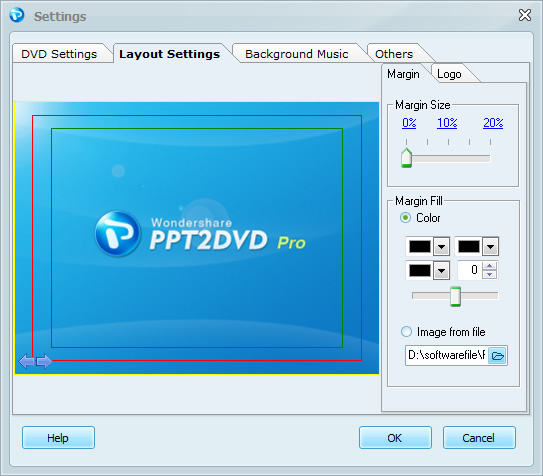
For some devices, the edges of display region (CRT monitor for example) is cut because of manufacture limitation. In this condition you need to set aside margin to ensure that the video can be displayed completely. If you use LCD monitor to view videos, please choose 0% Margin to make your video been displayed without margin.
Margin
Logo
This feature allows you to customize your own log(s) no matter if you are using trial version or full version. However, it is not allowed to remove the default Wondershare logo if you are using the trial version.
Button Position
Specifies the positions of the navigation buttons, ![]() , which are used to forward and backward slides when DVD is being played in manual mode. Enter the left and top value to change the positions of buttons. Or, just drag the navigation button to the place where you want it to locate.
, which are used to forward and backward slides when DVD is being played in manual mode. Enter the left and top value to change the positions of buttons. Or, just drag the navigation button to the place where you want it to locate.
Note:
To forward to next slide, press the Play or right arrow button on DVD remote control. To backward to previous slide, press the left arrow on DVD remote control.